 Expert eBooks Courses | Online-eBook-Download.com Latest digital books and courses, Tips & Tricks, How-to guides, free ebooks, software discounts, coupons & much MORE… Instant Download

Building a shed is a completely different ball game to assembling flat-packed furniture, mainly because the tolerances used to measure each individual part are not as exact as for indoor fitments.
Even if you have a detailed set of instructions, we would advise to check out a few things before you start. Make sure that the windows fit perfectly and ensure that the felt is ample enough to offer the protection you need.
Also, you will need a strong base to place your shed on and to be aware that any gaps in the construction will likely cause damp or rain to intrude and damage the shed.
Sheds are naturally ventilated so damp should not be a concern, but rain is a nuisance and should be protected from at all times.
Find a friend to help you construct the shed, preferably one who is happy with a couple of beers for payment, and the job will be done in no time at all.
Now all you need is to gather all of the right equipment, some decent weather and a copy of our guide and you’re all set to get building!
YOU WILL NEED
- A power drill or electric screw driver
- Claw hammer
- Tape measure
- Spirit level
- Retractable knife
- Metal ruler
- Builders square
- Safety goggles
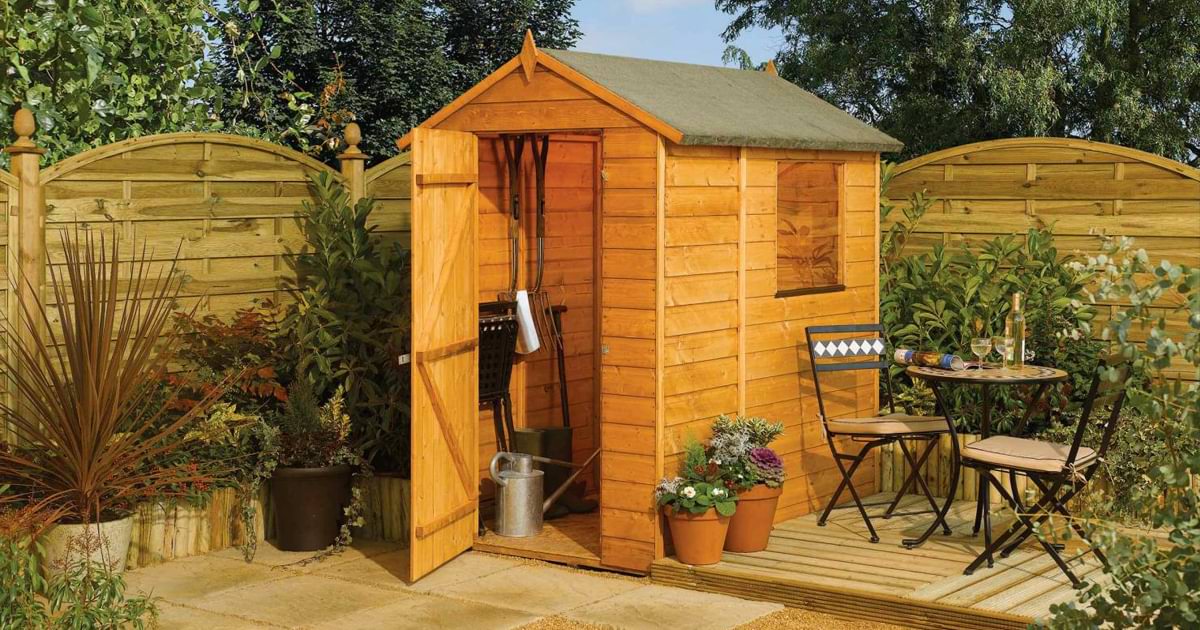
Construct a Wooden Shed
1) Prepare the ground
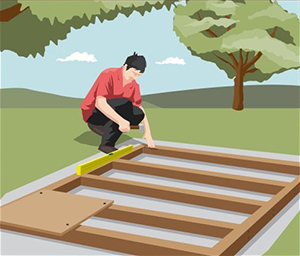
You should aim to keep the shed off the ground using deck piers if possible, as standing water on the ground will be absorbed.
It’s also imperative that you lay the entire base of the shed on flat ground to make it easier to align the shed panels correctly.
2) Building the walls
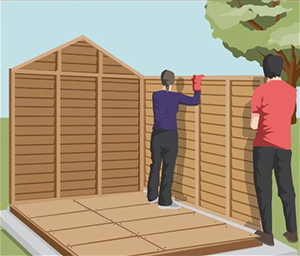
Start with the back panel and place it on the base, but do not attach it to the base just yet.
The panel with the door must be placed last, so keep this in mind as you build. Use a timber batten to keep the panels aligned if you’re unable to hold the panels in place.
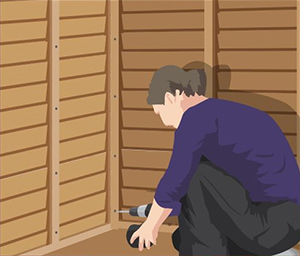
3) Stabilize it
Place a screw at the top, middle and bottom of the corner joint where the panels meet.
It is advised to add screws into the bottom of the panels if your shed is bigger than average to stabilize it, but, for now, we need to use these screws to keep the panels level.
4) Fit the roof
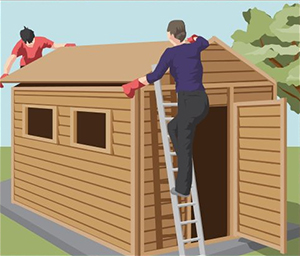
Fit the roof support beam across the top of the shed, slotting it into the grooves left by the panels.
Use screws to attach an L-shaped bracket, which should keep the beam aligned correctly. Mark the beam with a pencil where you want the roof panels to sit.
5) Add remaining panels
Lift the roof panels and slot them into place. You can choose to secure them in place with either screws or nails.
Apply the felt on to your roof, using a Stanley knife to cut off material that overlaps the corners before fitting.
6) Build the place
Only when the walls and roof are in place, physically attach the shed to the base.
Ensure that it is square and correctly put together by using a spirit level on the edge of each panel. Use screws to attach the interior and exterior of the panels to the bases.

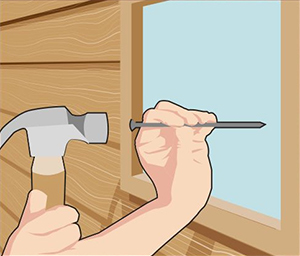
7) Time to install the windows
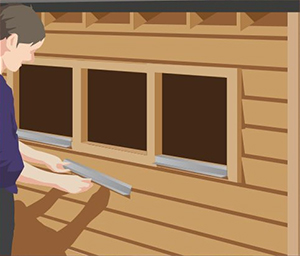
You can now slide the window into place and rest it on the sill. Nail or screw some beading into place to secure it.
Only after everything has been fixed should you remove the protective film from the main window component.
8) Finishing touches
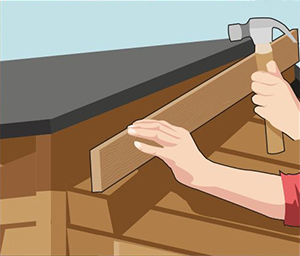
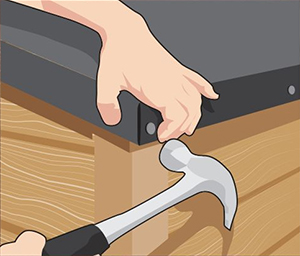
Your shed is nearly ready, but we recommend adding an end beam to the edges of your roof.
They can provide extra cover for the felt against wind and rain. A thin beam of wood will work, so feel free to attach with nails or screws depending what you have to hand.